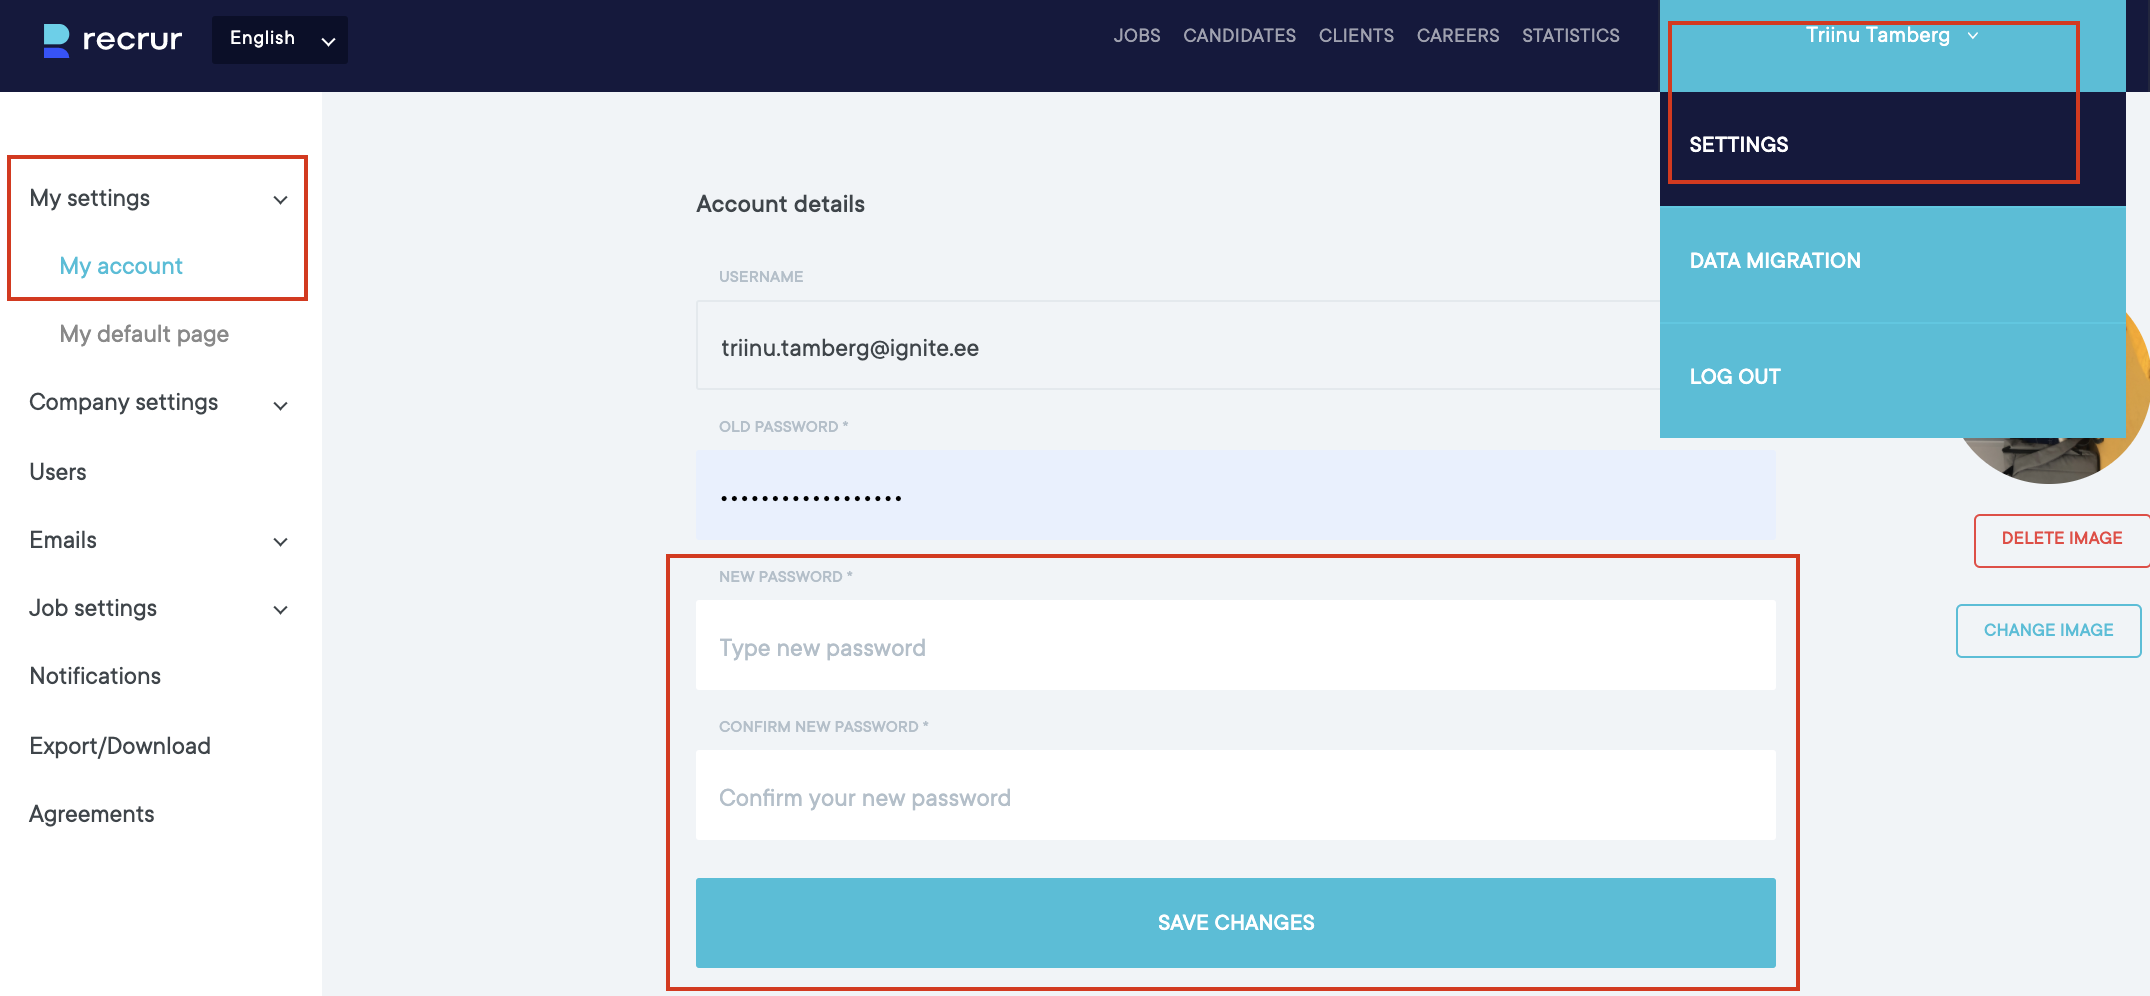
1. When logging in for the first time, please change your temporary password. To do this, click on your name in the top menu bar and select SETTINGS -> MY ACCOUNT
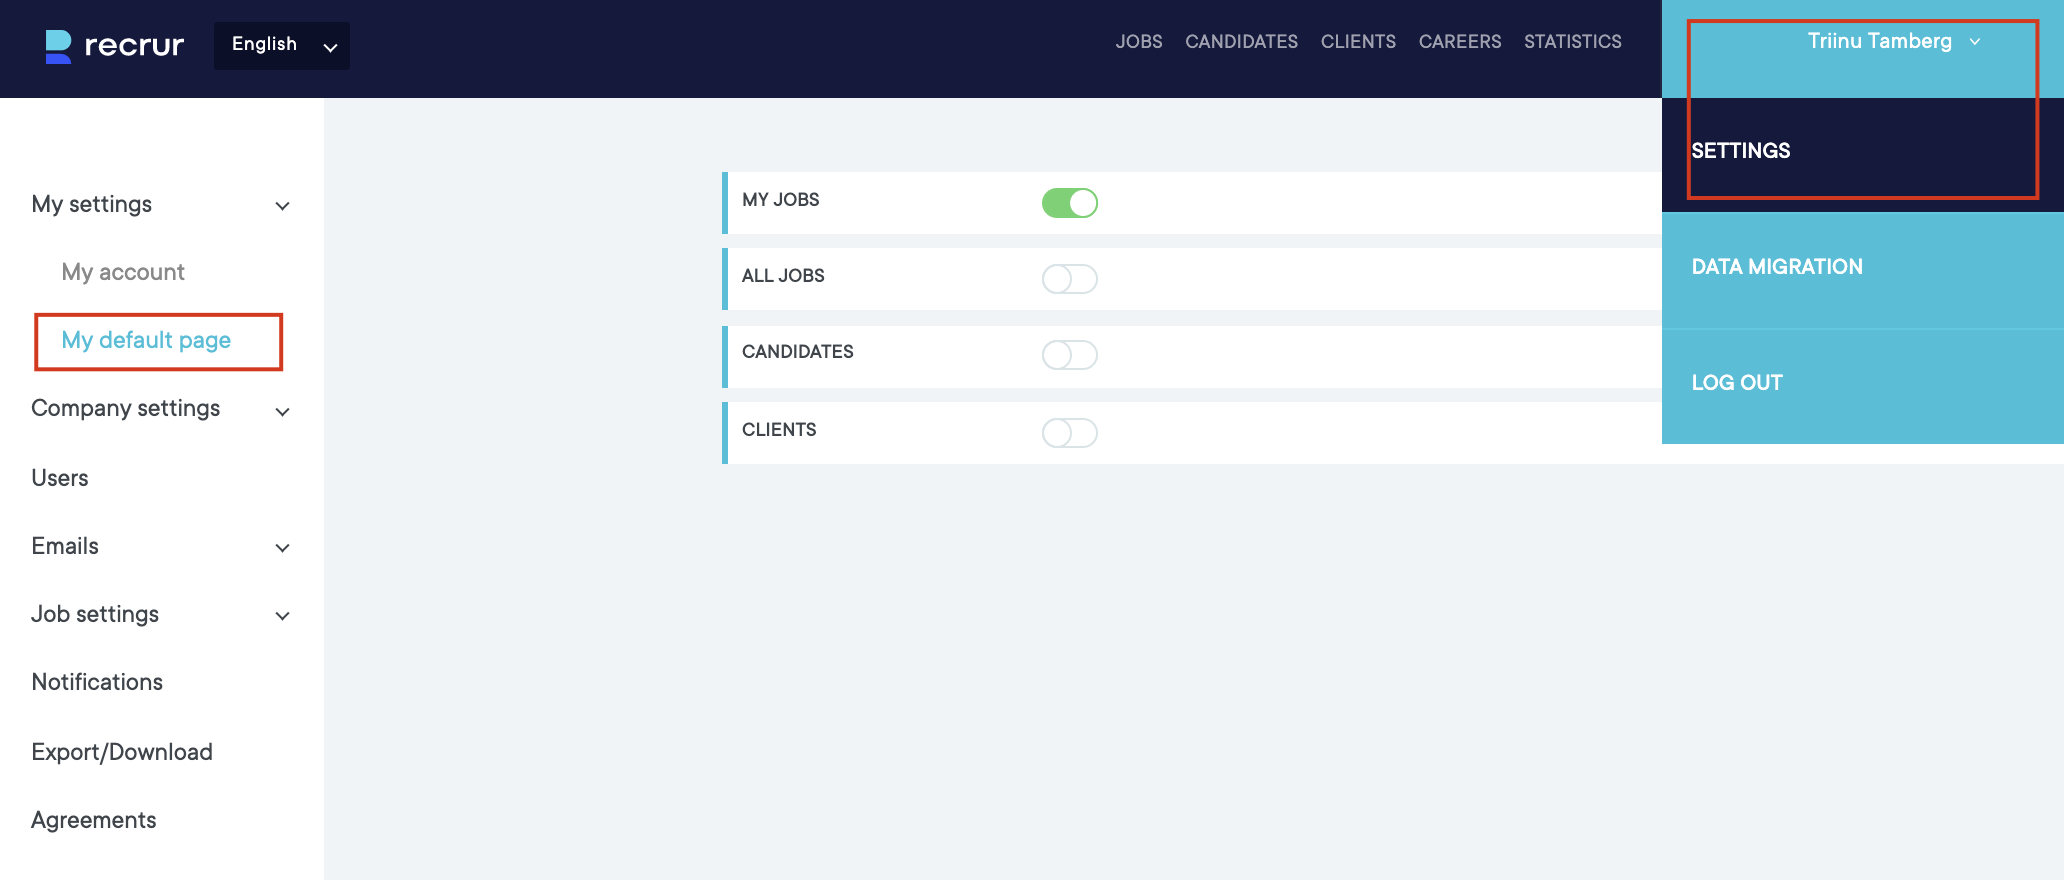
2. Choose which home page view you would like to see first, when you log in to the system: MY SETTINGS -> MY HOMEPAGE
3. Add a company logo and a brief introduction by selecting COMPANY SETTINGS -> COMPANY DETAILS.

User with admin role can change company’s settings.
For that, you need to click on your name, select “Settings” -> “Company details”
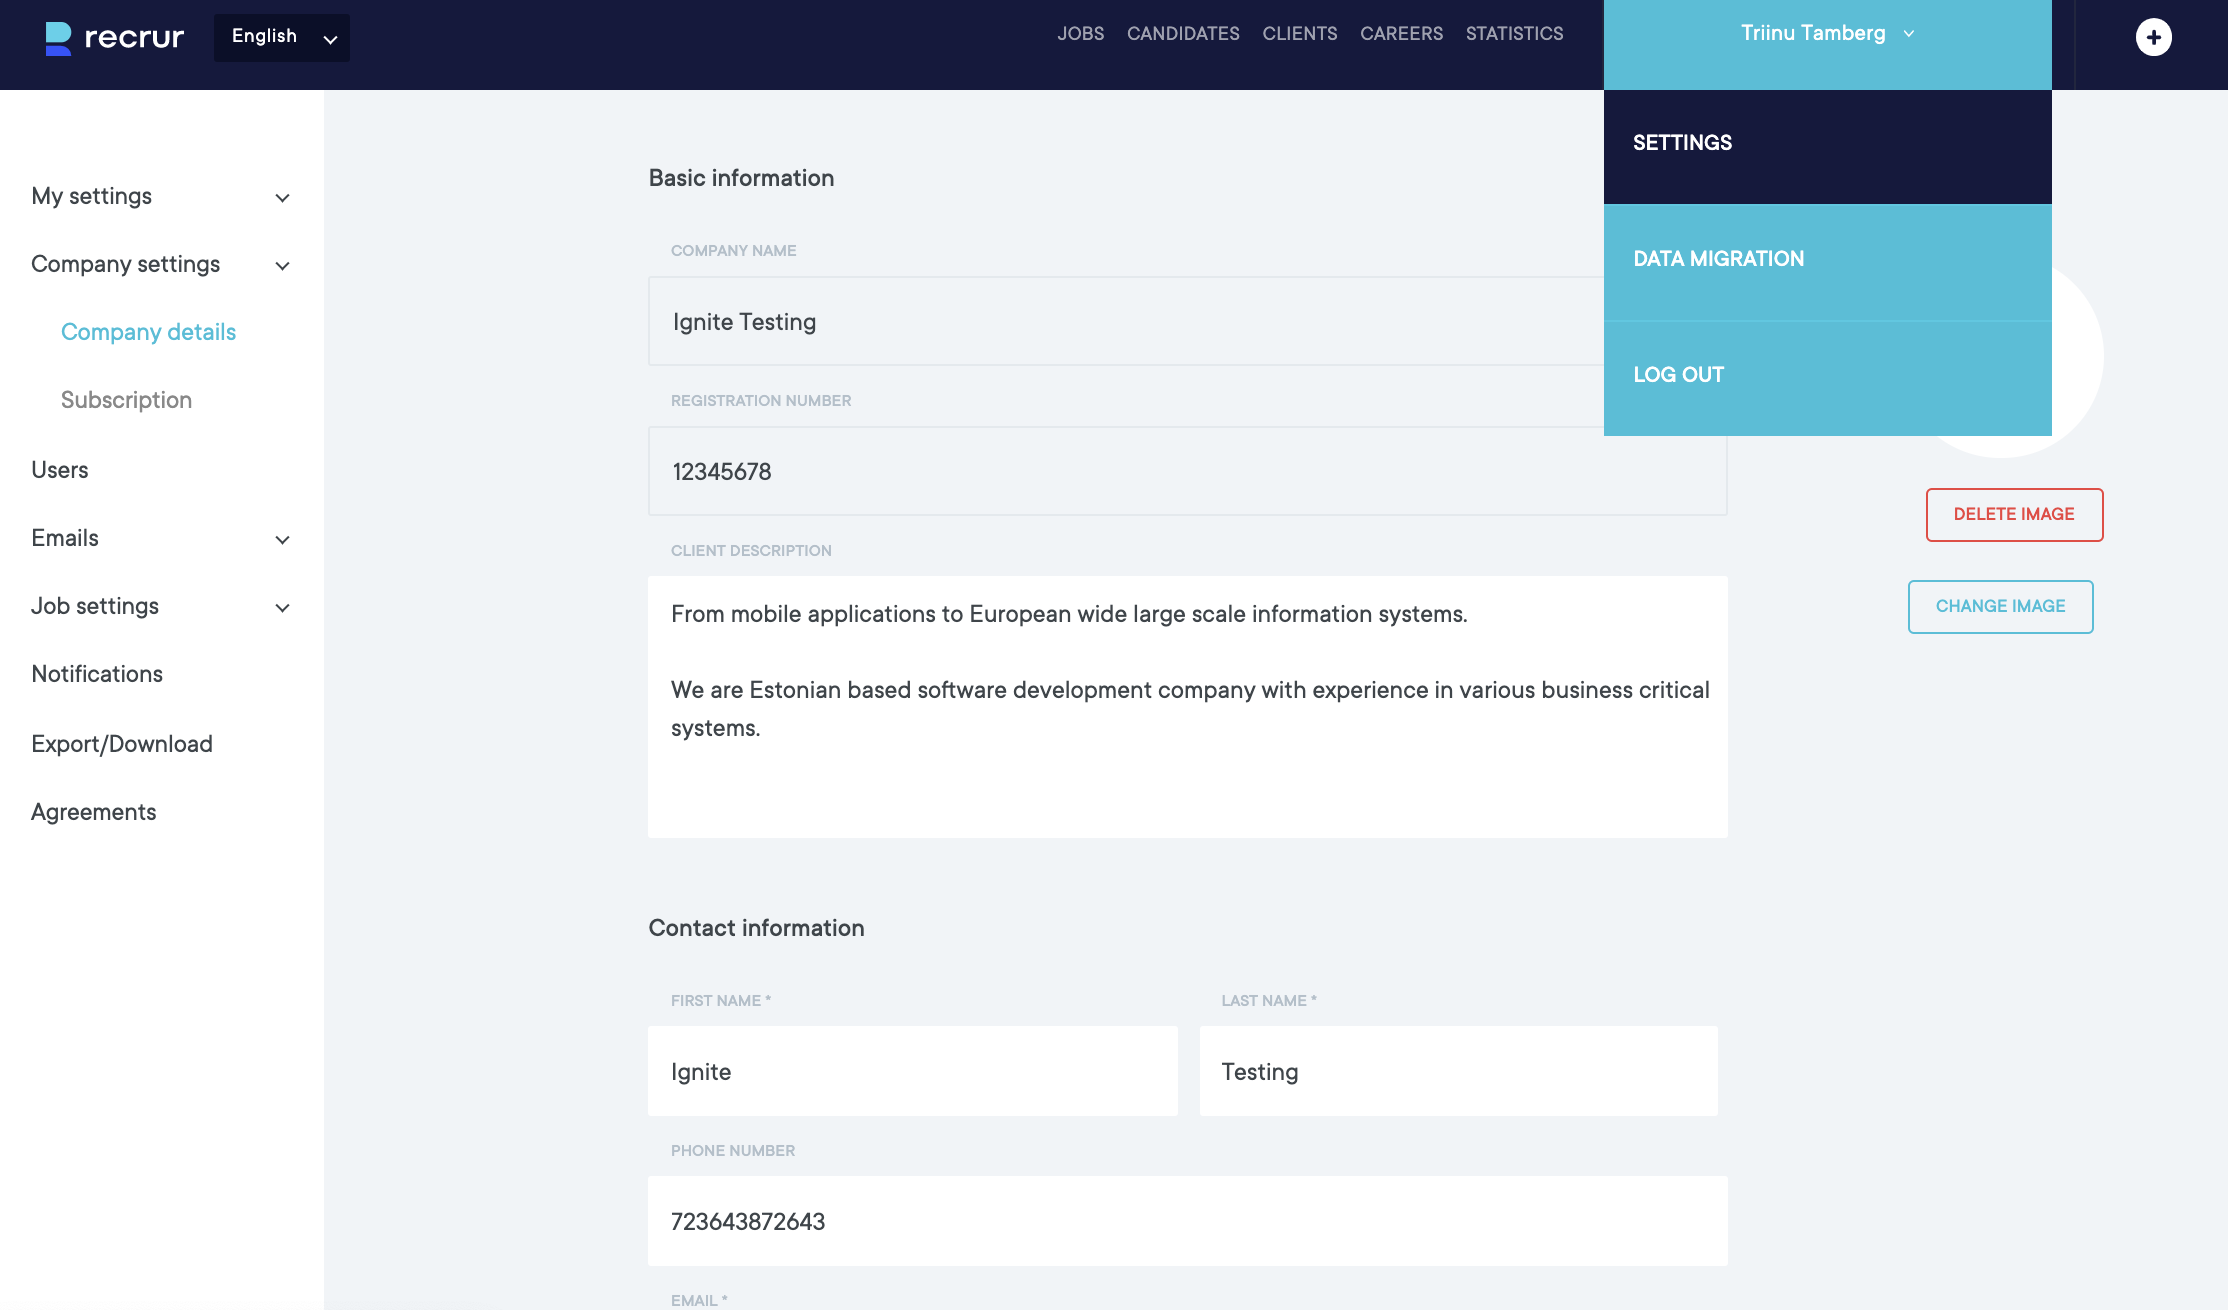
It is not possible to change “Company name” and “Registration number”, these will be set and fixed when you ceate an account.
On the right side you can change your organisation’s logo. It’s shown on the Recrur application form, also on CV-Online and CV Keskus job ad’s. However, you can change it for a specific application link or job ad separately when creating them.
“Contact information” – fill this with the details of the main contact person of your organisation/recruitment. When creating a job ad to CV Keskus for example, this contact information will be shown there next to the job ad.
4. Add users within your organization by selecting USERS – NEW USER
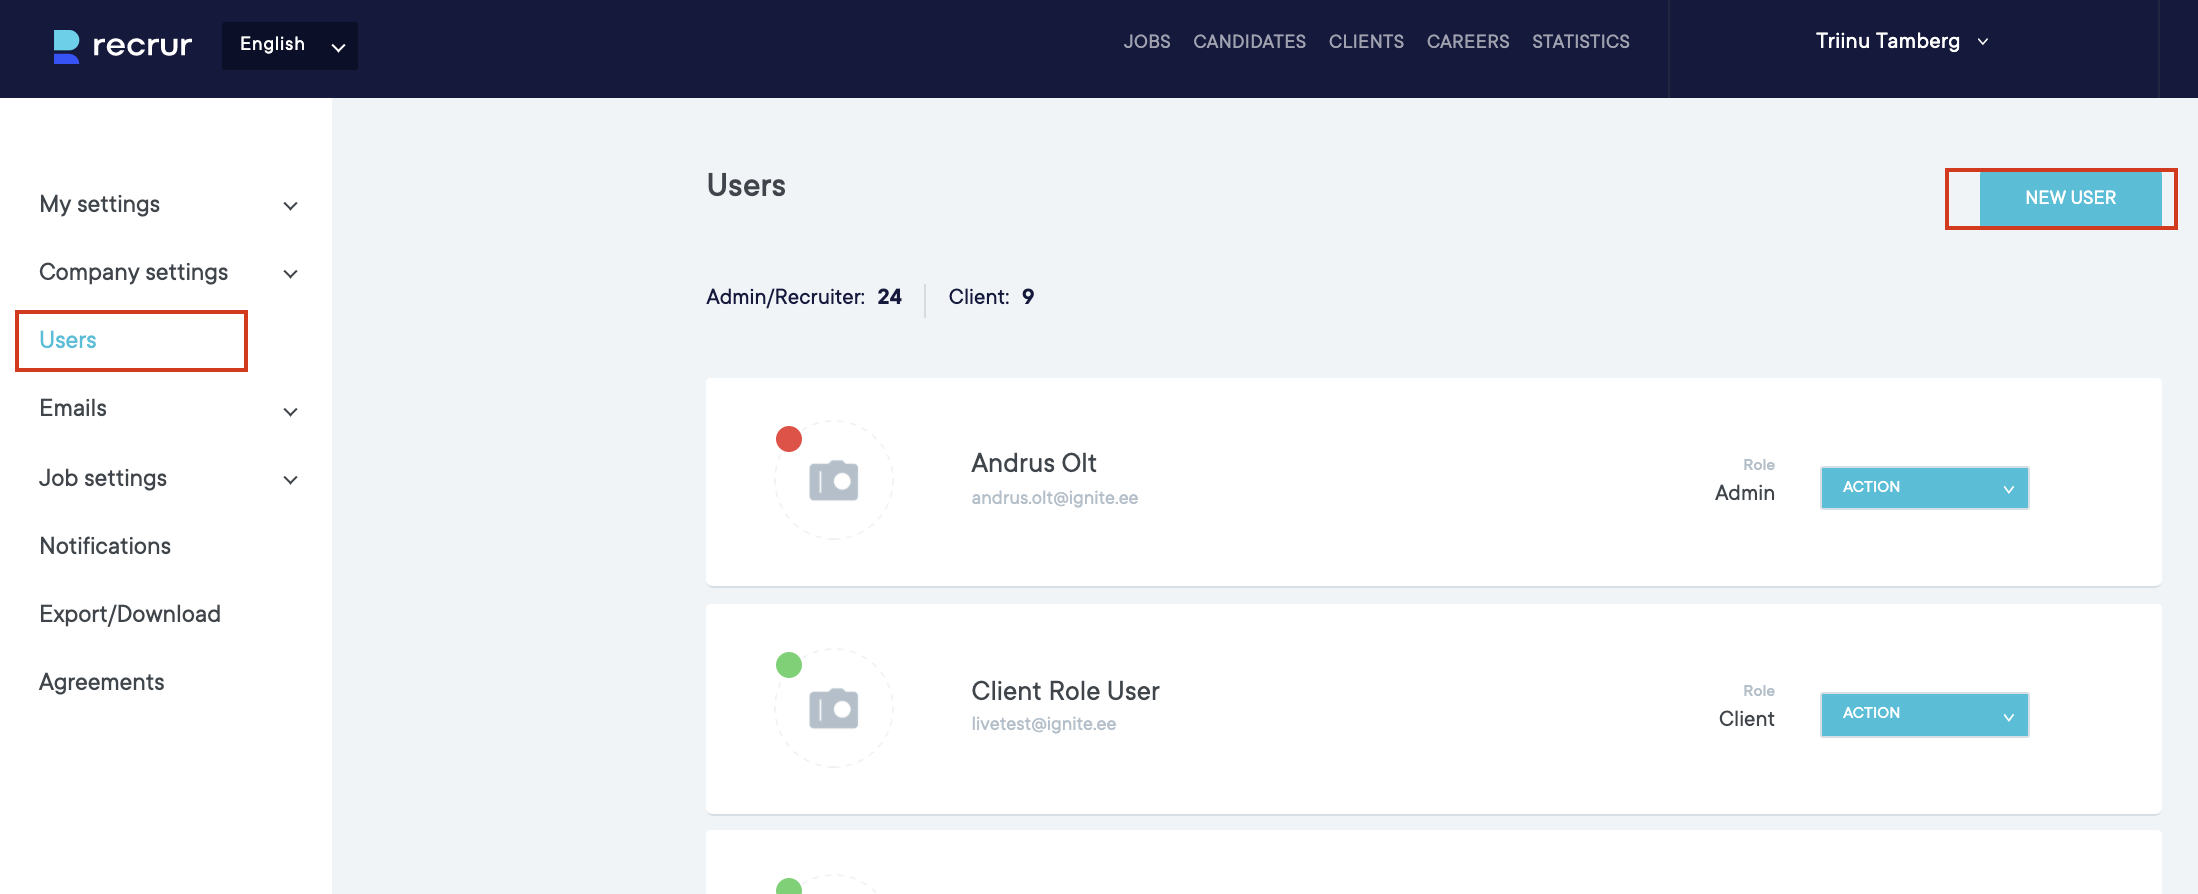
● ADMIN: Has access to all the settings and can create, view and modify all the jobs and candidates.
Admin can also add and remove users and change their roles and permissions.
● RECRUITER: Has limited access to settings: My account, My default page, Email templates and Email notifications.
Recruiter has full access to create, view and modify all the jobs and candidates.
● CLIENT: Has limited access to settings: My account. Can view or comment only the jobs that the admin user has given permissions for.
4. Additionally you have to create a password (manually) for the users. It would be good (and secure), if this was a temporary password and the new user, after his/her first login, would go and change the password to something more private (in Settings -> My settings -> My account -> New password)
5. Create some e-mail templates by selecting E-MAILS -> E-MAIL TEMPLATES -> NEW E-MAIL TEMPLATE
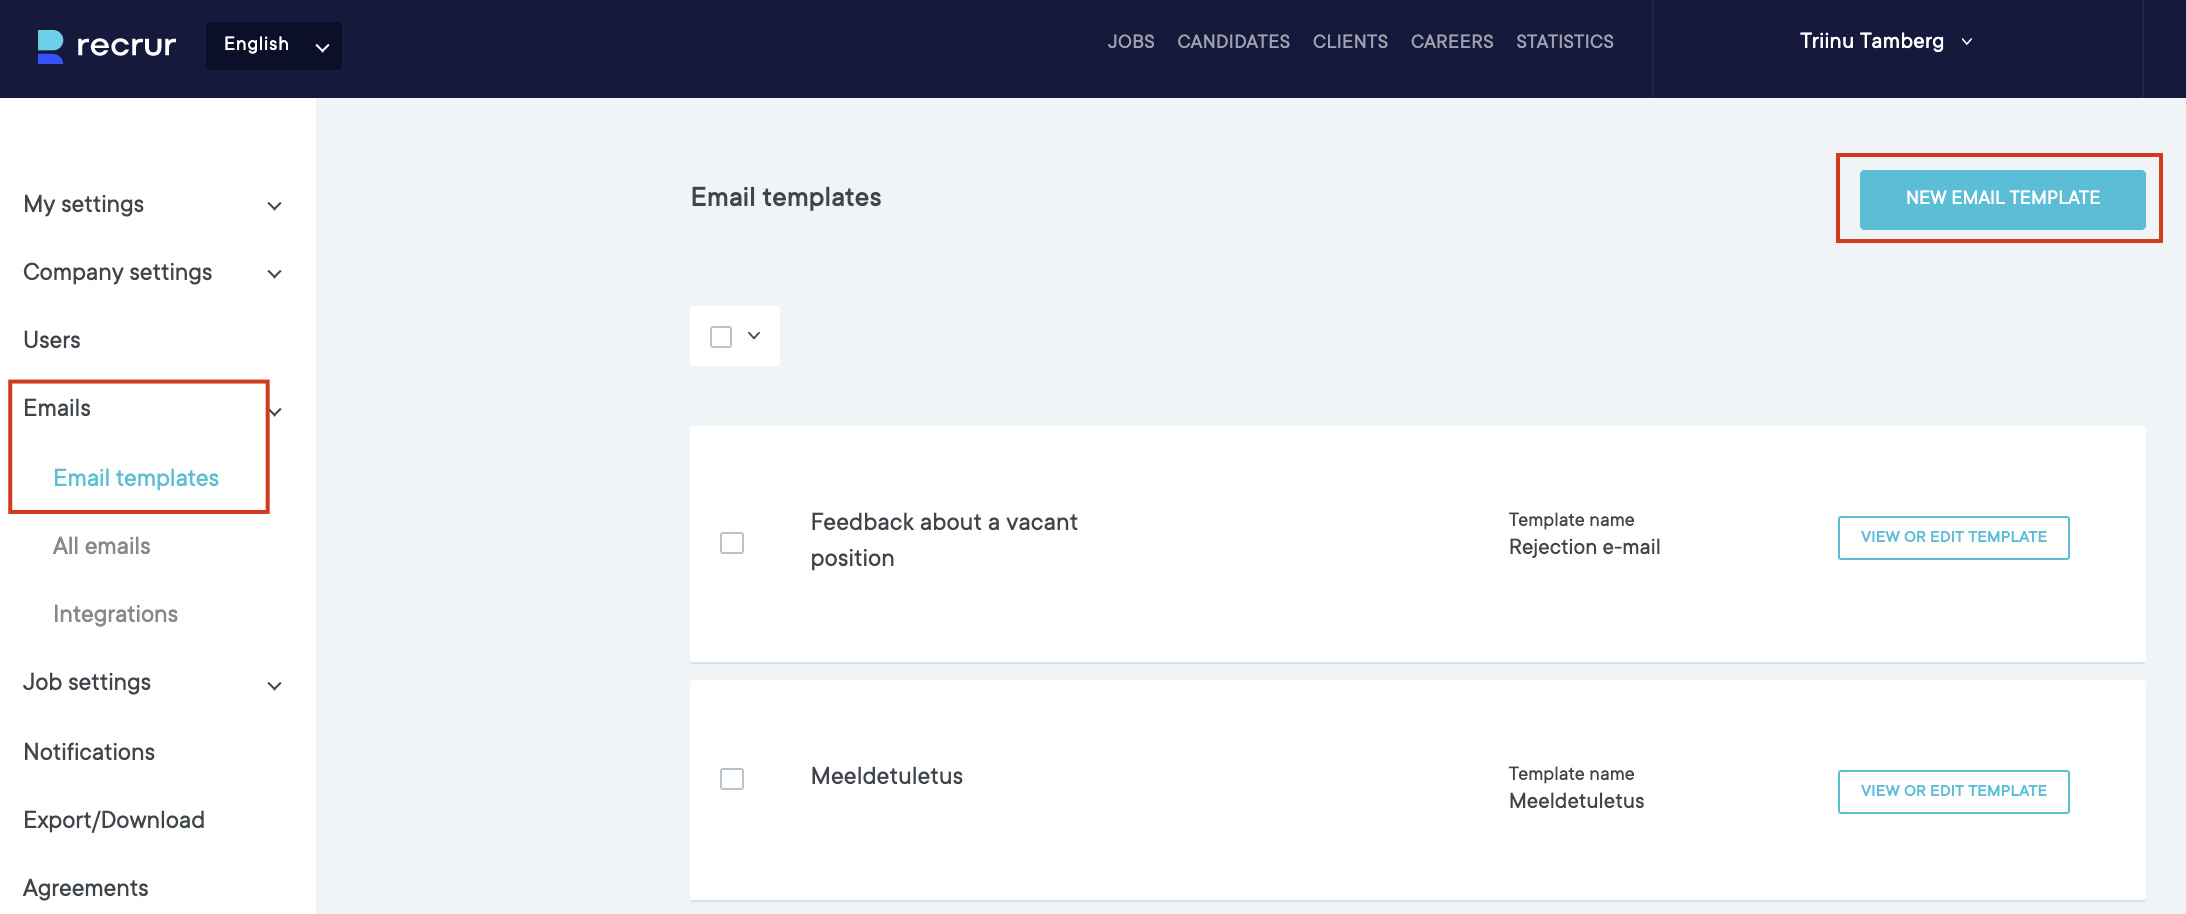
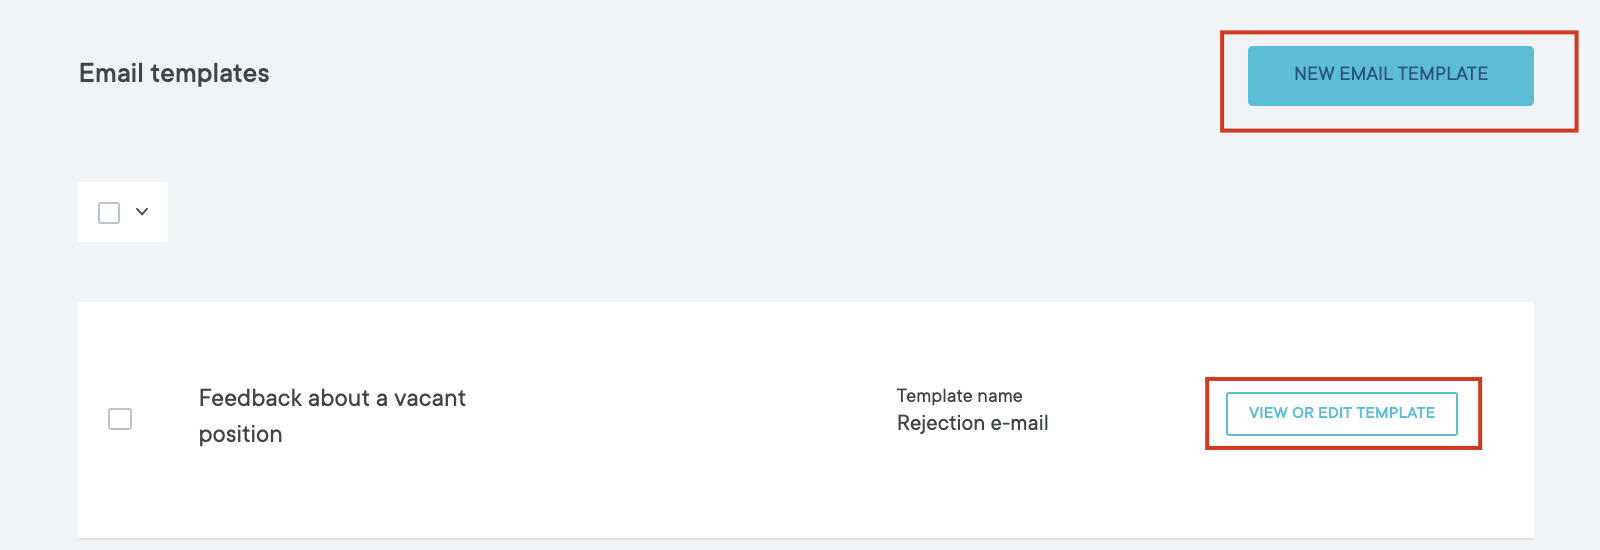
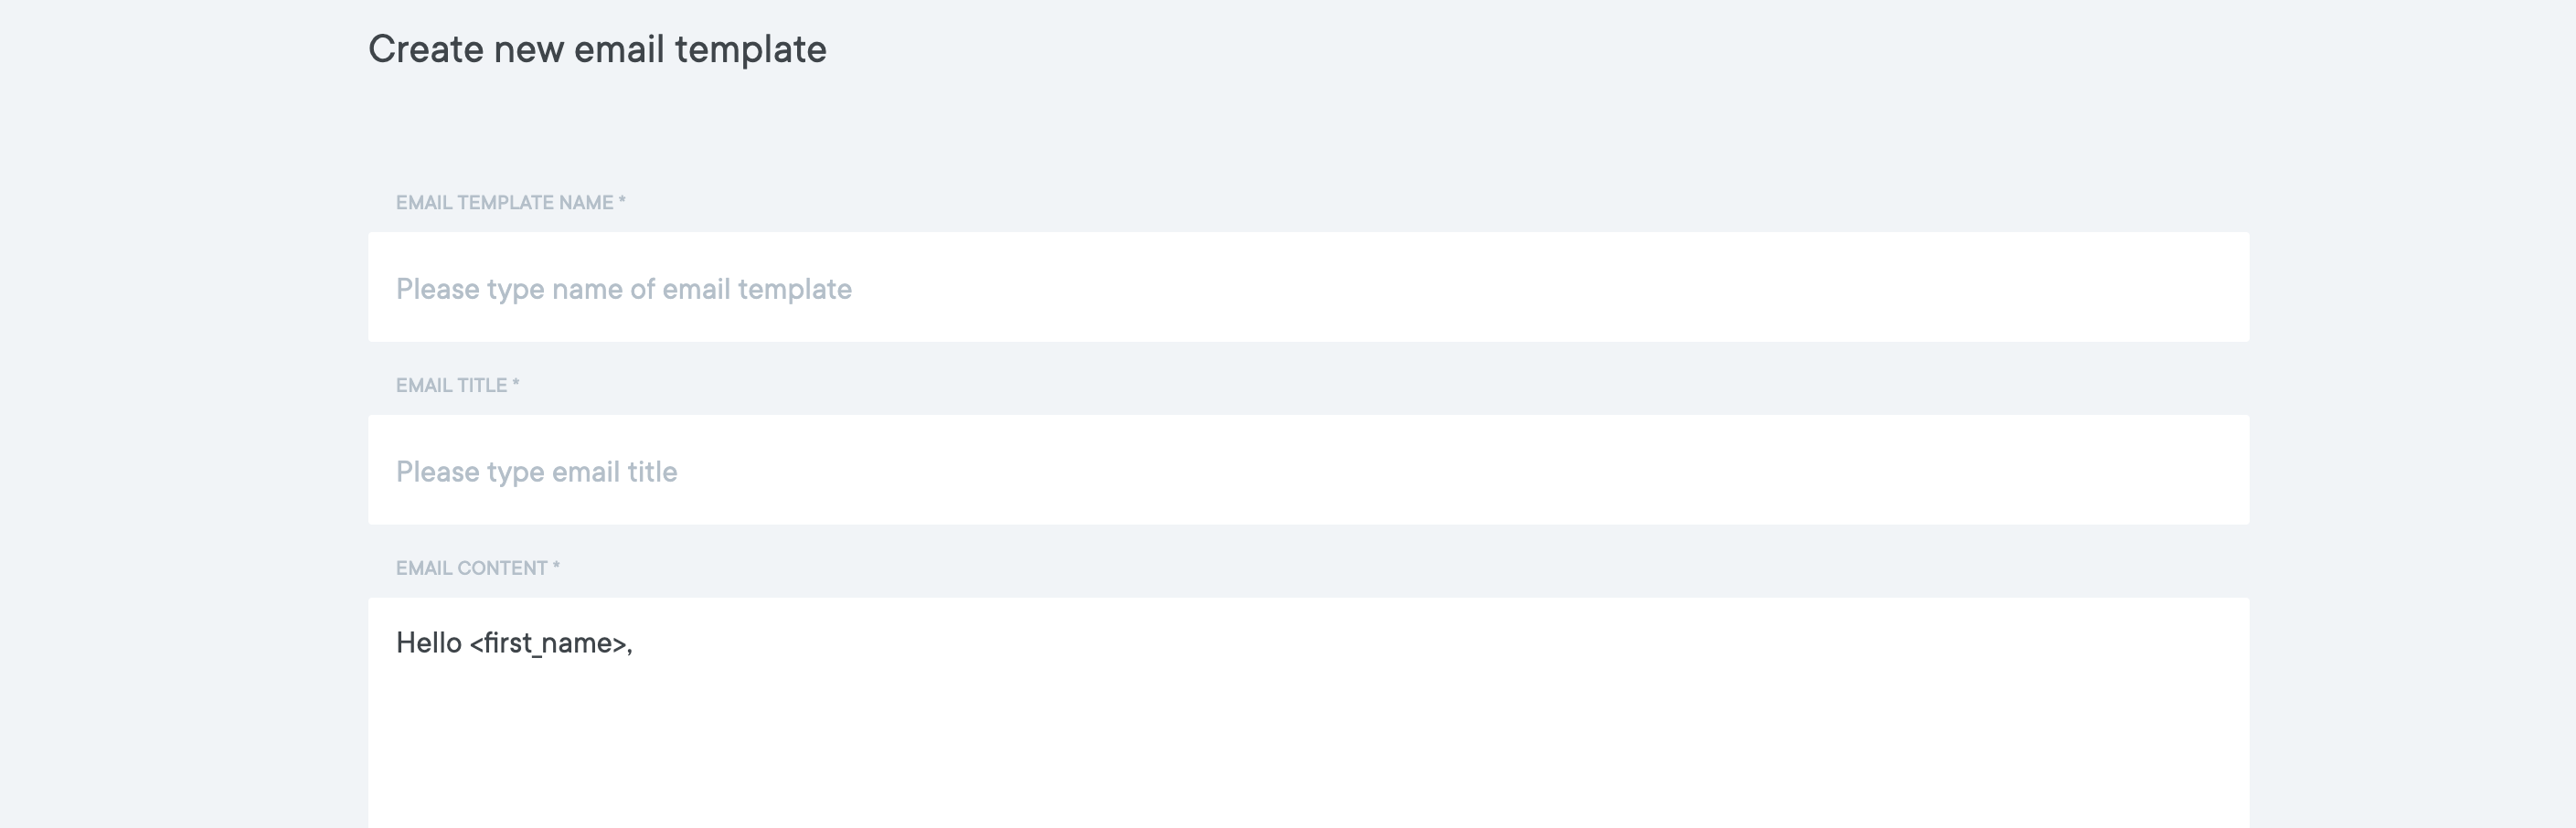
Then press the button NEW EMAIL TEMPLATE and create as many templates as needed (e.g. rejection letter, invitation for an interview etc). View or edit the email templates by pressing the button VIEW OR EDIT TEMPLATE.
ADD A TAG “<FIRST_NAME>“ FOR AUTOMATIC FIRST NAME.
6. Connect your Recrur account to your e-mail account (Outlook or Gmail). To do this, select E-MAILS -> INTEGRATIONS -> OUTLOOK OR GMAIL

Under e-mail integrations it’s possible to connect your Gmail or Outlook with Recrur. This means, that all of your e-mails will be sent on behalf of your Gmail / Outlook email address (so the sender’s address will show your specific personal connected address, otherwise the sender will be “no-reply@recrur.com”).
Synchronization of incoming e-mails is currently not supported in Recrur.
Depending on which connection you want (Gmail/Outlook, you can choose only one) click on the “Link Gmail”/”Link Outlook” button.
This will open a new window where you can sign in to Gmail / Outlook with the desired account. After logging in, you must agree to send emails with Recrur and the account will be connected. For example, if Gmail is connected, it looks like this in Recur:

If you would like to remove the integration, then click on “Unlink account” button.
If you want to integrate another email, then you also need to unlink the account first and then connect with another address.
7. Add the recruitment phases according to your organization’s practices by selecting JOB SETTINGS -> PHASE TITLES -> NEW PHASE TITLE
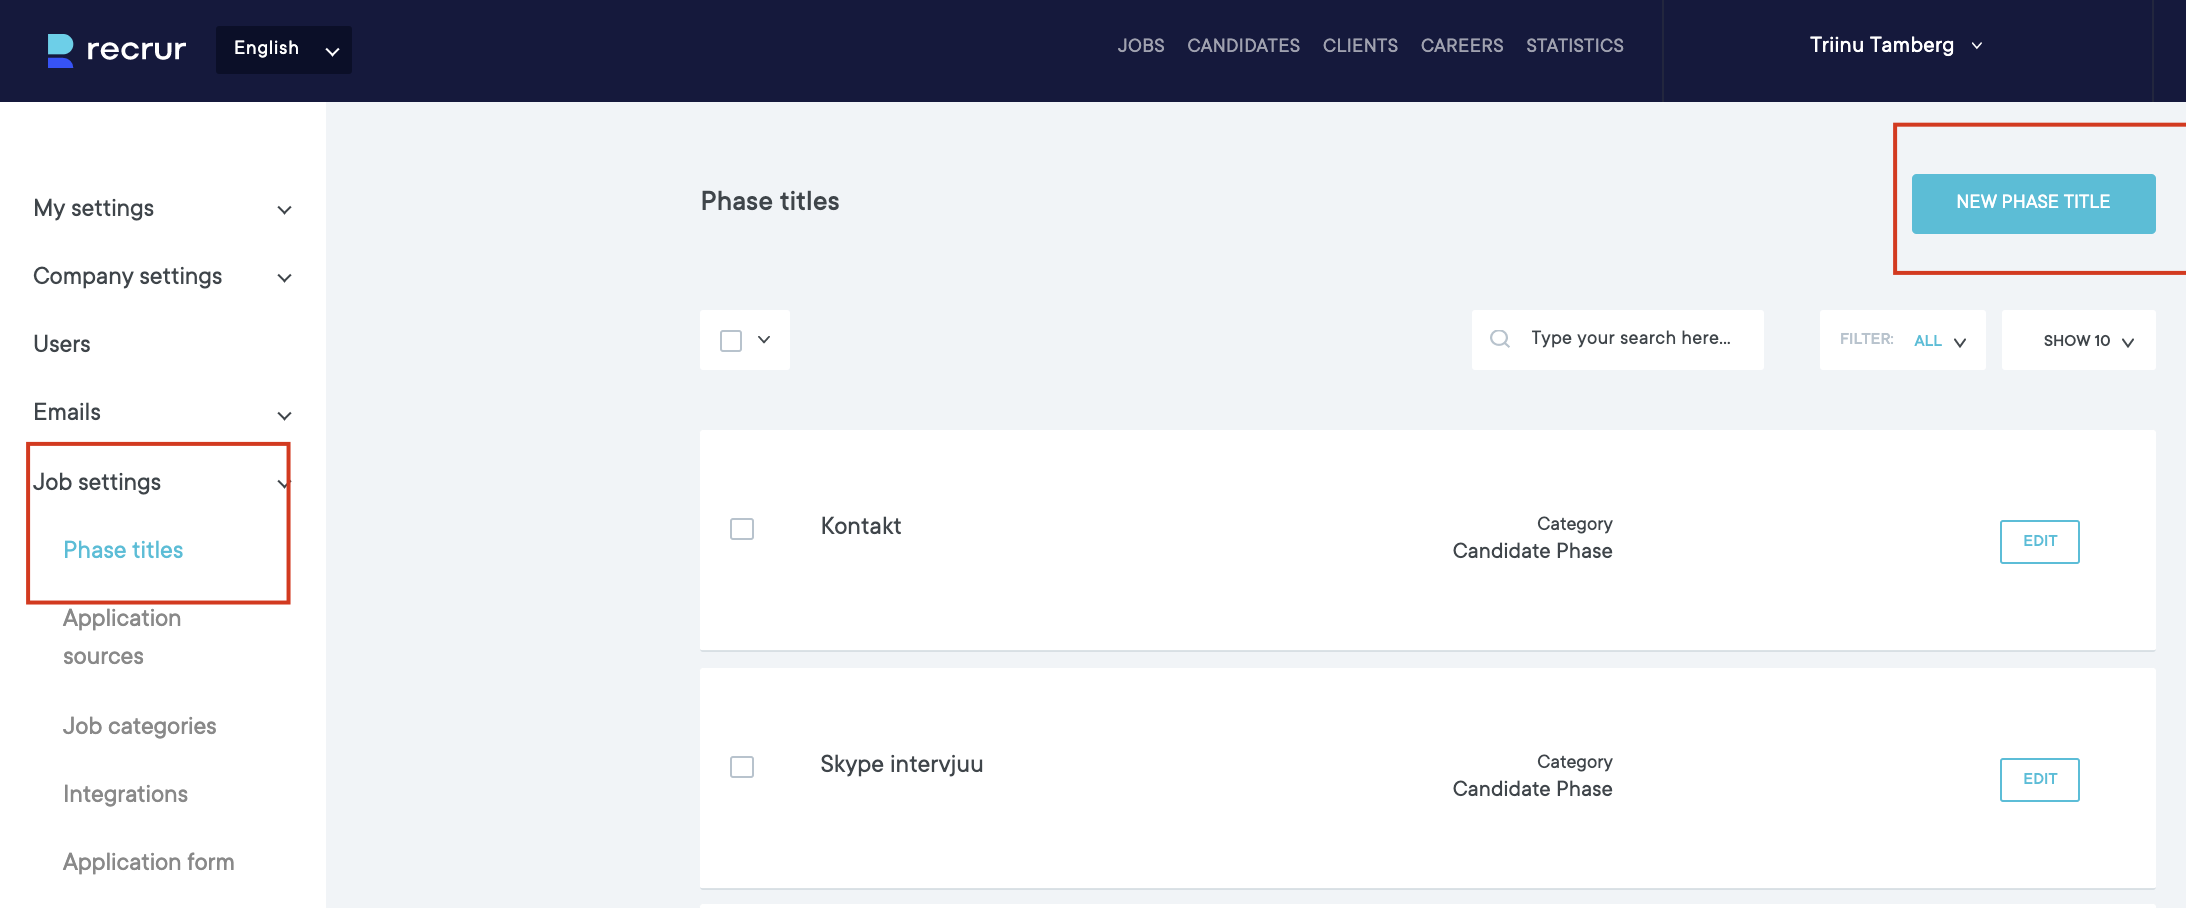
Phases are an easy way to keep track of how candidates have progressed in the hiring process.
The creation of the in-house recruitment process should start with defining the phases that you want to use for candidates (eg “primary contact”, “interview”, “test assignment”, etc.).
Phases can be applied to a candidate under the job they are applying to. You can add unlimited amount of phases to a candidate during a job.
8. Add a list of application sources by selecting JOB SETTINGS -> SOURCES -> NEW SOURCE

Application sources are there to see the sources through which the candidate applied for or heard about the job.
When a candidate applies through an application form, he/she can choose from which source they heard about the job vacancy.
When you insert candidate manually to the system, you also have to select, from which source this candidate came from.
Some sources, such as “cv.ee” or “CV Keskus”, will automatically appear on the candidate by Recrur, if the candidate has applied in another environment.
9. Add an image to be displayed on the application forms for candidates. To do this, select the APPLICATION FORM and upload an optimized image in the appropriate file size and dimensions.
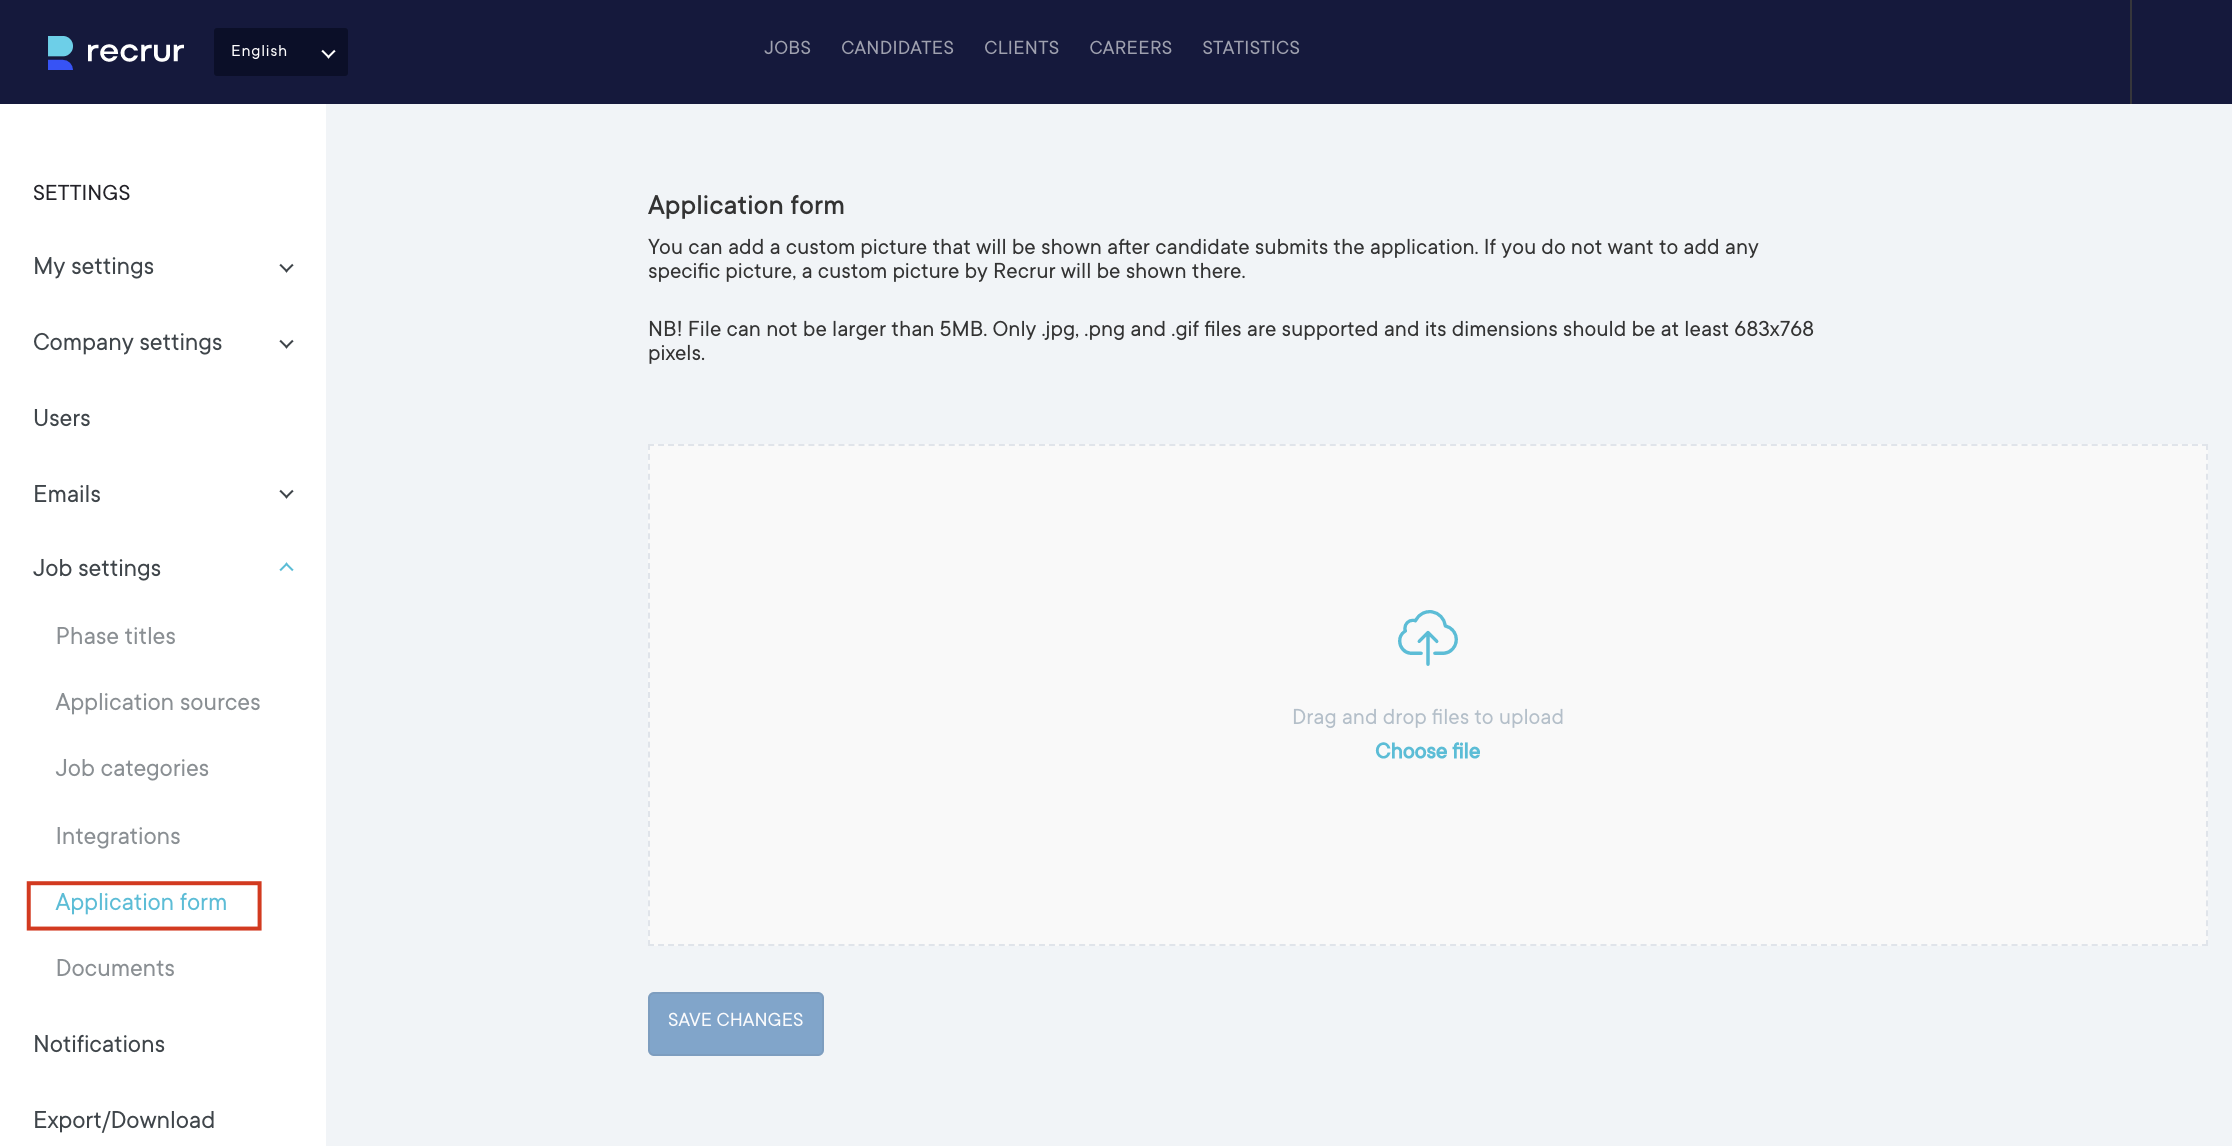
If a picture is not added to the application form, the default picture added by Recrur will be displayed for the candidate, which looks like this:

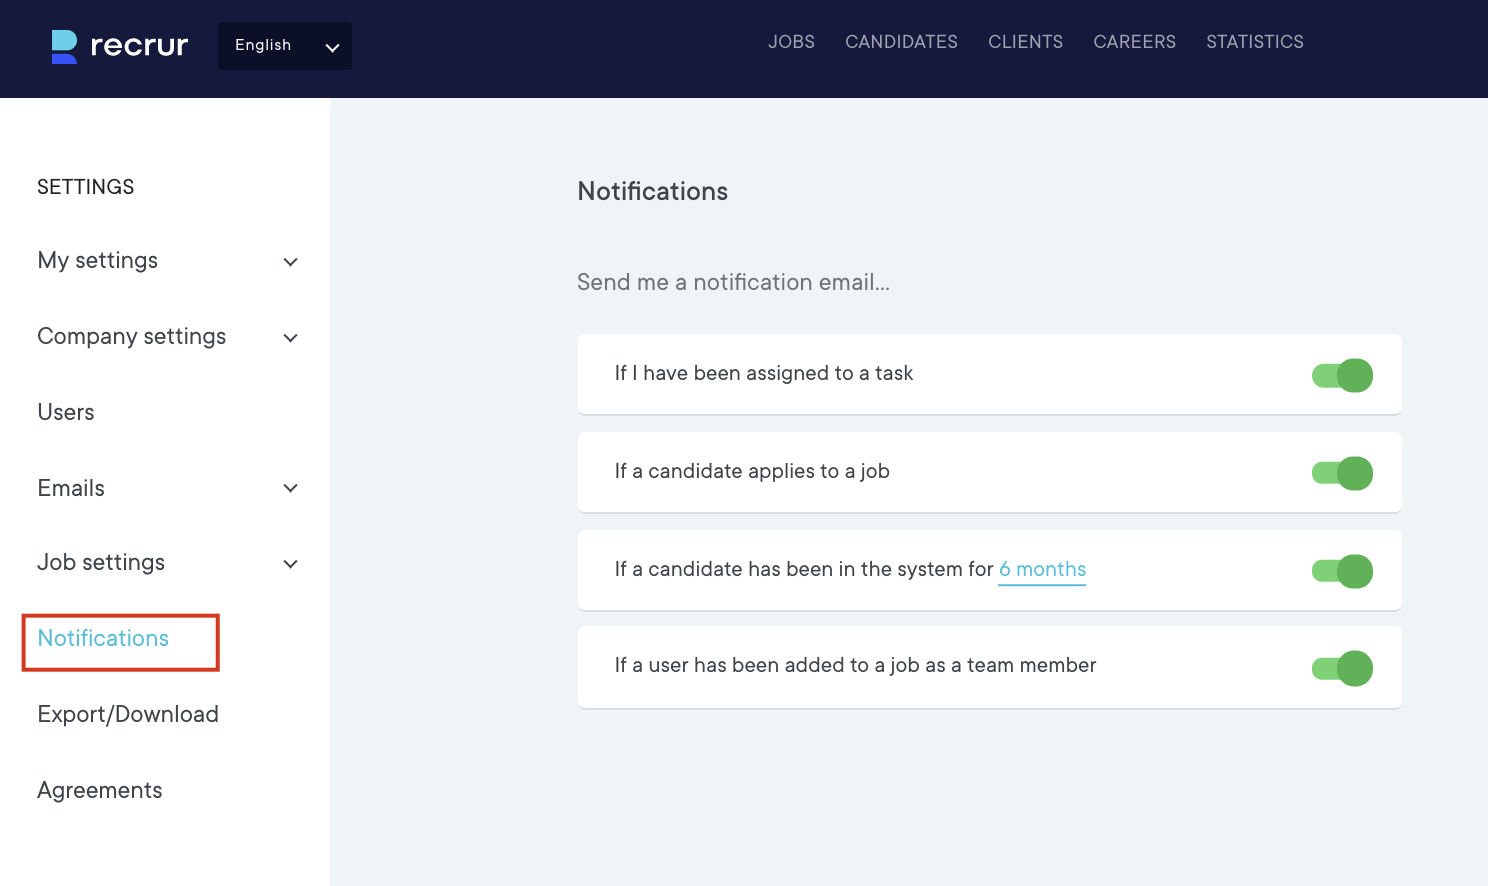
10. Select the system notifications you would like to receive by e-mail. To do this, open NOTIFICATIONS and make your selection.
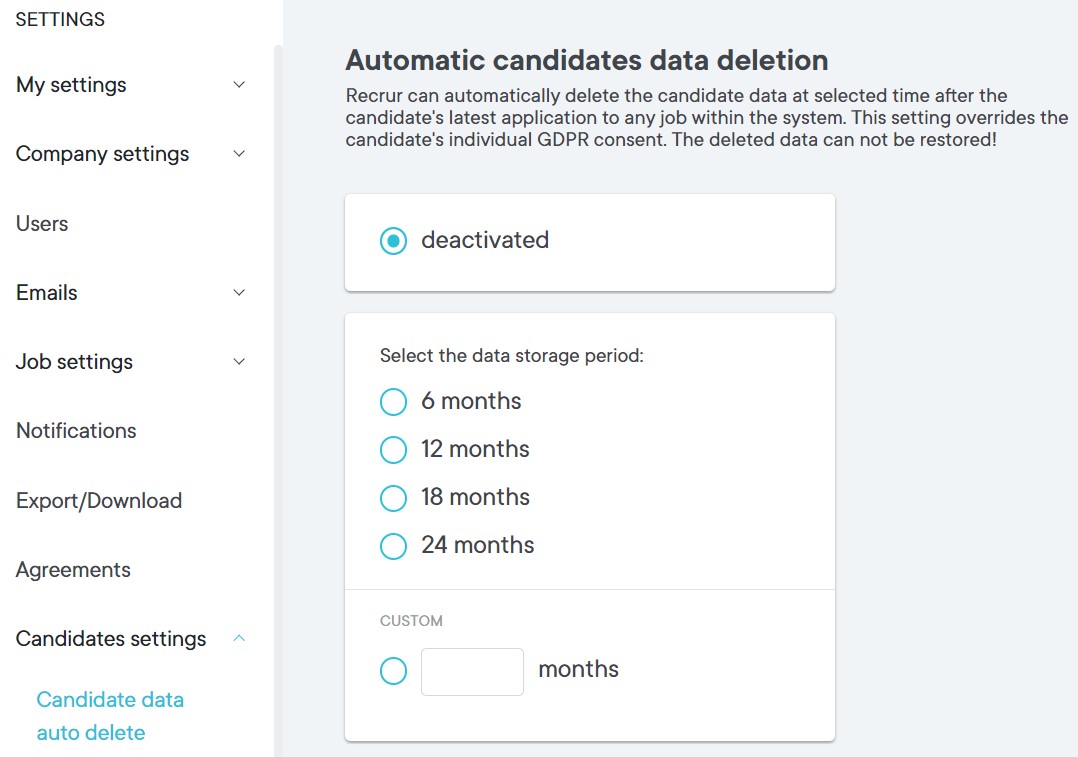
You can also activate automatic deletion of applicants who have been in the database longer than the selected months.
This is optional and does not need to be enabled! If it is activated, deleted candidates cannot be restored!
11. Add the departments and/or clients of your organization to whom you provide recruitment services. To do this, select CLIENTS from the menu at the top.

Your account is now ready to use and you can star creating jobs and job ads!